Usage with Claude Desktop
This article outlines how to integrate the local Make MCP server with Claude Desktop.
Prerequisites
NodeJS
Claude Desktop app
Make API Key with
scenarios:readandscenarios:runscopes
Installation
To use the local MCP server with Claude Desktop:
Open your Claude Desktop account.
Click on the hamburger menu in the upper left-hand corner.
Click File.
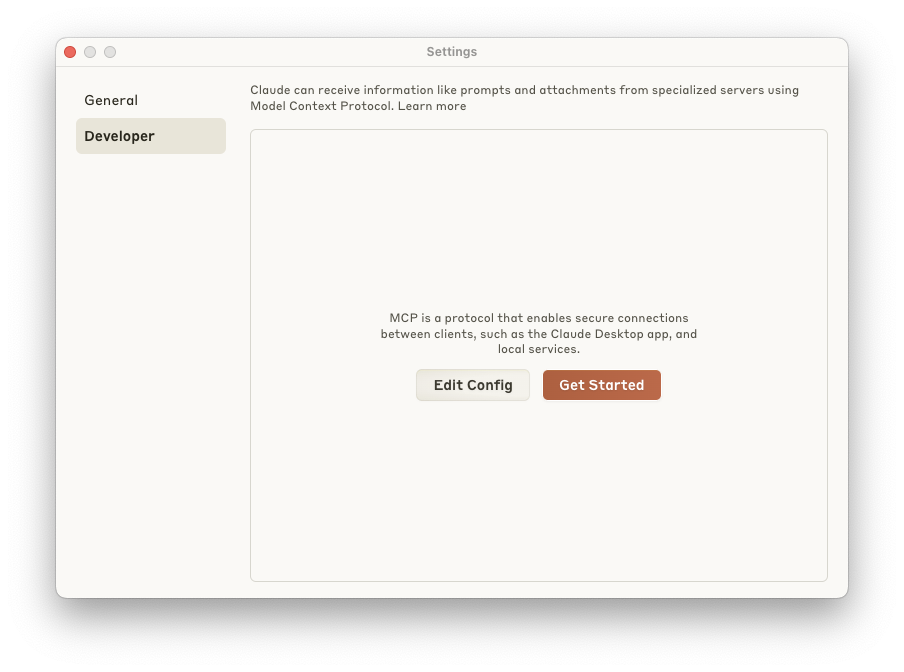
Click Settings, which opens a dialog.
Navigate to the Developer section.
Click Edit Config, which directs you to the folder containing the
claude_desktop_config.jsonfile.

Add the following configuration to the
mcpServerssection of yourclaude_desktop_config.json:
Replace placeholders:
MAKE_API_KEY- You can generate an API key in your Make profile.MAKE_ZONE- The zone your organization is hosted in (e.g.,eu2.make.com).MAKE_TEAM- The ID in the URL of the Team page.
Last updated

